Aficionados of cigars appreciate a special type of hand-rolled blunts called panatella. Usually, Cuban or Dominican cigars of premium quality are all hand-rolled with the use of local tobacco products. There are special masters called cigar rollers (torcedors), most of them are women who live in Cuba.

However, there are male masters as well and they produce awesome hand-made cigars. You may also become such a master. But, prepare to be patient and accurate, spare enough time and have a desire to learn how to roll a cigar at home.
The process of rolling a cigar is done in 2 steps:
Before rolling a cigar, you should prepare the equipment. The main rules are to find good blunts from the tobacco leaves and sheets. Today, professional tobacco shops offer such leaves. Leaves can be ordered in special sealed packages, where the best humidity is maintained.
Table of Contents
How to prepare tobacco leaves for rolling a cigar?
Tobacco leaves are the main component of hand-rolled cigars. You can buy this component at specialized stores or grow them on your own. When buying the leaves in a store, you should remember that the shop always guarantees the quality of its products. Never buy from a person “in the street” in case of the purchase of poor quality goods.
The key material is a cover sheet, which forms the cigar and holds its filling. The outer layer is formed from large, small and thin leaves. Such a combination guarantees the cigar’s tightness and integrity and makes the panatella hardy when exposed to long periods of heat during a natural decay.
Things to do with tobacco leaves before rolling a cigar:
- Wet the leaves. For this purpose, you can use a bottle with holes in the lid or a sprayer. If there is a separate room for rolling a cigar, you can buy a special humidifier, a small device that increases the amount of moisture in its environment. You can also pour some water into a plastic bag and put leaves in it. The duration of the humidification and the amount of water used can be different. The main thing is to make the leaves flexible and supple;
- Select the leaves for a cover sheet. Find the thinnest, largest and softest leaves by inspecting and touching them. They will hold the other tobacco leaves together and form the layer of a cigar to which the smoker’s hands will touch;
- Cut out the central veins from the leaves that you have picked as cover sheets. This can be done with regular scissors or with a clerical knife. Cut from the cigar leaf’s base to the top;
- Then choose the binding leaves, which will serve as a kind of “gasket” between the cover sheets and cigar’s filling. They should be worse than the leaves chosen for the cover, but better than the leaves left for filling;
- Pick the leaves to fill the cigar. To take all the leaves that are left after the selection of covers and binding leaves. Such leaves for cigar rolling can be moistened a bit. It’s also worth sniffing them so that one cigar has the homogeneous flavor leaves;
What equipment do you need to hand-roll cigars at home?
We asked Marie Sullivan from HomeProfy and get an answer for this question.
- A mold press is two wooden boards of 1-2 inches thick with specially cut out forms. DIY molds can be chiseled out and sandpapered to make them smoother. The depth of the molds can be calculated by taking a cigar similar to the one you want to make at home and putting it in a hollow. Each cigar press should contain exactly half of its diameter;
- If you do not have a cigar at hand, you can find out the diameter of tobacco leaves online and make a hollow cylindrical shape with half of the diameter for panatellas;
- A knife of any length will do. Opt for a thin and sharp knife, for example, from a carving kit. Carving sets for fruits and vegetables always include small but very thin cutting objects, which are sharpened with the special equipment;
- Colorless glue (resin). Besides color, the glue must be eco-friendly and odorless. It is better to go to special tobacco markets where they sell cigar rolling supplies, carpentry or crafting shops and consult with professionals who know what natural glue does not smell at all;
Cigar rolling at home: a step-by-step guide
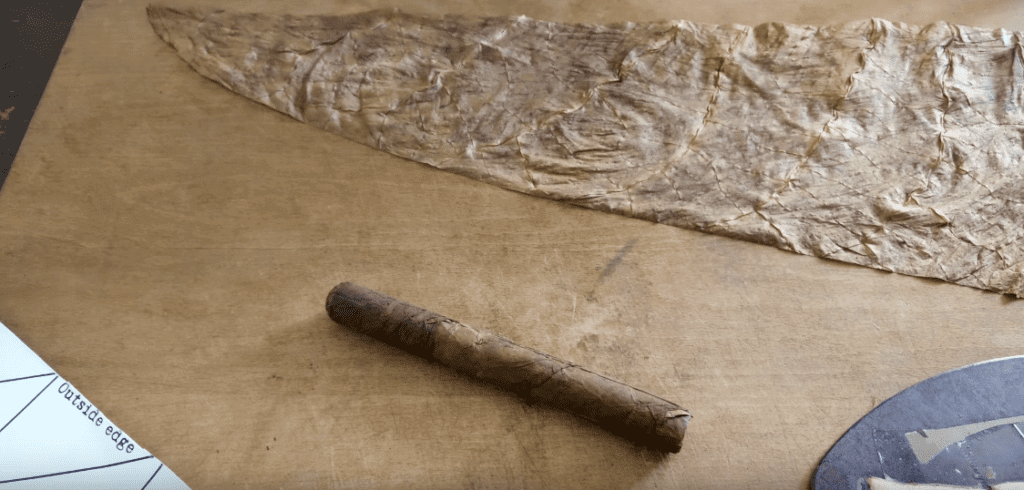
- Filling leaves for a cigar is taken in a bundle. This will ensure an optimal cigar size, which is usually about 6-7 inches;
- Thick tobacco leaves are placed in the middle. They are wrapped in a thinner way, which results in a laminated structure. Also, such leaves ensure the proper forms of lines and convenient smoking;
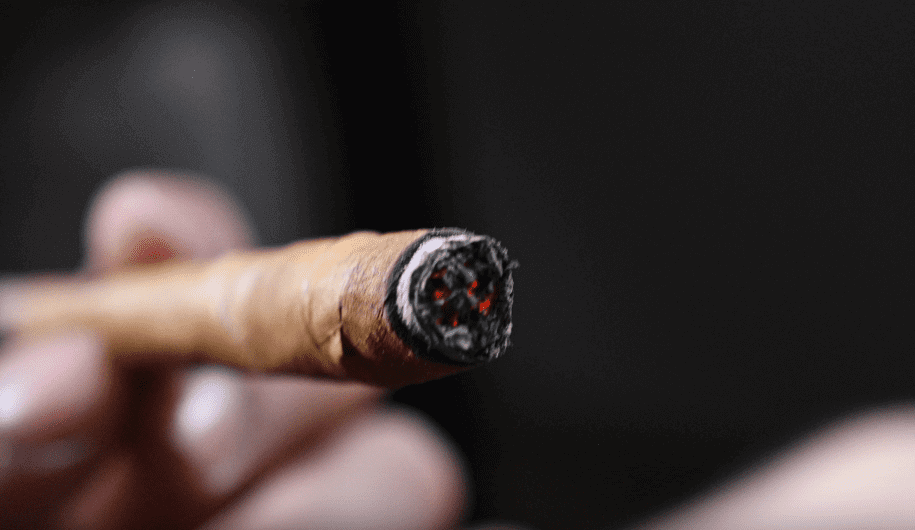
- The number of leaves and density of packing are chosen individually. A hand-rolled cigar that is too dense will be too heavy to smoke and the presence of airbags inside makes it too fast for burning;
- Then a pre-sealed binder sheet is placed on the table. The bundle is placed on the tip with a 45-degree turn. Cigar rolling begins. For this purpose, usually, one binder sheet is enough, which is cut into two parts along the veins;
- Binding of the tobacco filling is completed when a flat cylinder is obtained. After that, you need to cut the remnants of the sheet with a kitchen knife, forming a kind of mouthpiece;
- When the leftovers are cropped and rolled, you need to determine where the cigar head will be. For this purpose, the tip should be with a “more” conical structure taken on the cylinder. To prevent the binder sheet from tearing up, you must fix its ends with a special cigar glue;
- The base is ready. The only thing left is to seal the tobacco product in the cover sheet. It is done in the same way at an angle of 45°. The rest of the cover sheet is glued together at the tip of the head. Then cut with a sharp kitchen knife;
- The final step is the cigar’s sealing. To do this, a piece of the cigar’s cover sheet is cut out of the leftovers in a semi-circle shape. The alternative is to squeeze the head and again glue the cigar’s sticky substance. Such glues are easy to find in professional markets;
Why do you need to buy a mold for hand-rolling cigars?
In fact, making a cigar ends with a pressing process. For this purpose, special rollers are on sale. They are called molds. Due to the applied weight, they give the tobacco product a finished look. Before hand-rolling, it is wise to design such a case or buy it.
The cigar is left in such a press for at least 12 hours, but experts recommend to keep it longer – for 2-3 days. The cigar will be periodically turned over to ensure a flat and smooth surface.
The press is made according to the type of humidor. In factories, the cigars are kept in presses inside special cabinets. They are insulated and sealed containers, which may contain a vessel with water or a humidifier.
Also, this technique prevents the tobacco leaves from drying out, but, at the same time, the mold guarantees the integrity and strength of panatellas.
Newcomers do not choose the thickness of leaves and wrapping sheets correctly. Too thick cigars are hard to smoke, and thin cigs fall apart or burn at the moment.
Should you invest in professional equipment for rolling cigars? It depends on how many cigars you roll daily or weekly. There are small in size molds, they help to shape the tobacco leaves into a certain form for a fat hand-rolled cigarillo. In other words, if you are really passionate about a proper way to hand-roll a cigar, then you should buy the special mold.


I am looking to get into hand rolling cigars at home so this helped out. I have started on a DIY mold for the mold press and I’m going to get some colorless glue and start the fun. It’s going to be interesting to see what I can do.
Hello, Peter! Thanks for your comment.